


Label printers are invaluable tools for organizing and streamlining various tasks in homes, offices, and businesses. However, the convenience they offer can be disrupted when the labels run out. Thankfully, refilling labels in a label printer is a straightforward process that anyone can accomplish with a little guidance. In this article, we will provide a comprehensive step-by-step guide to help you refill labels in your label printer quickly and efficiently.
Step 1: Gather the Necessary Supplies
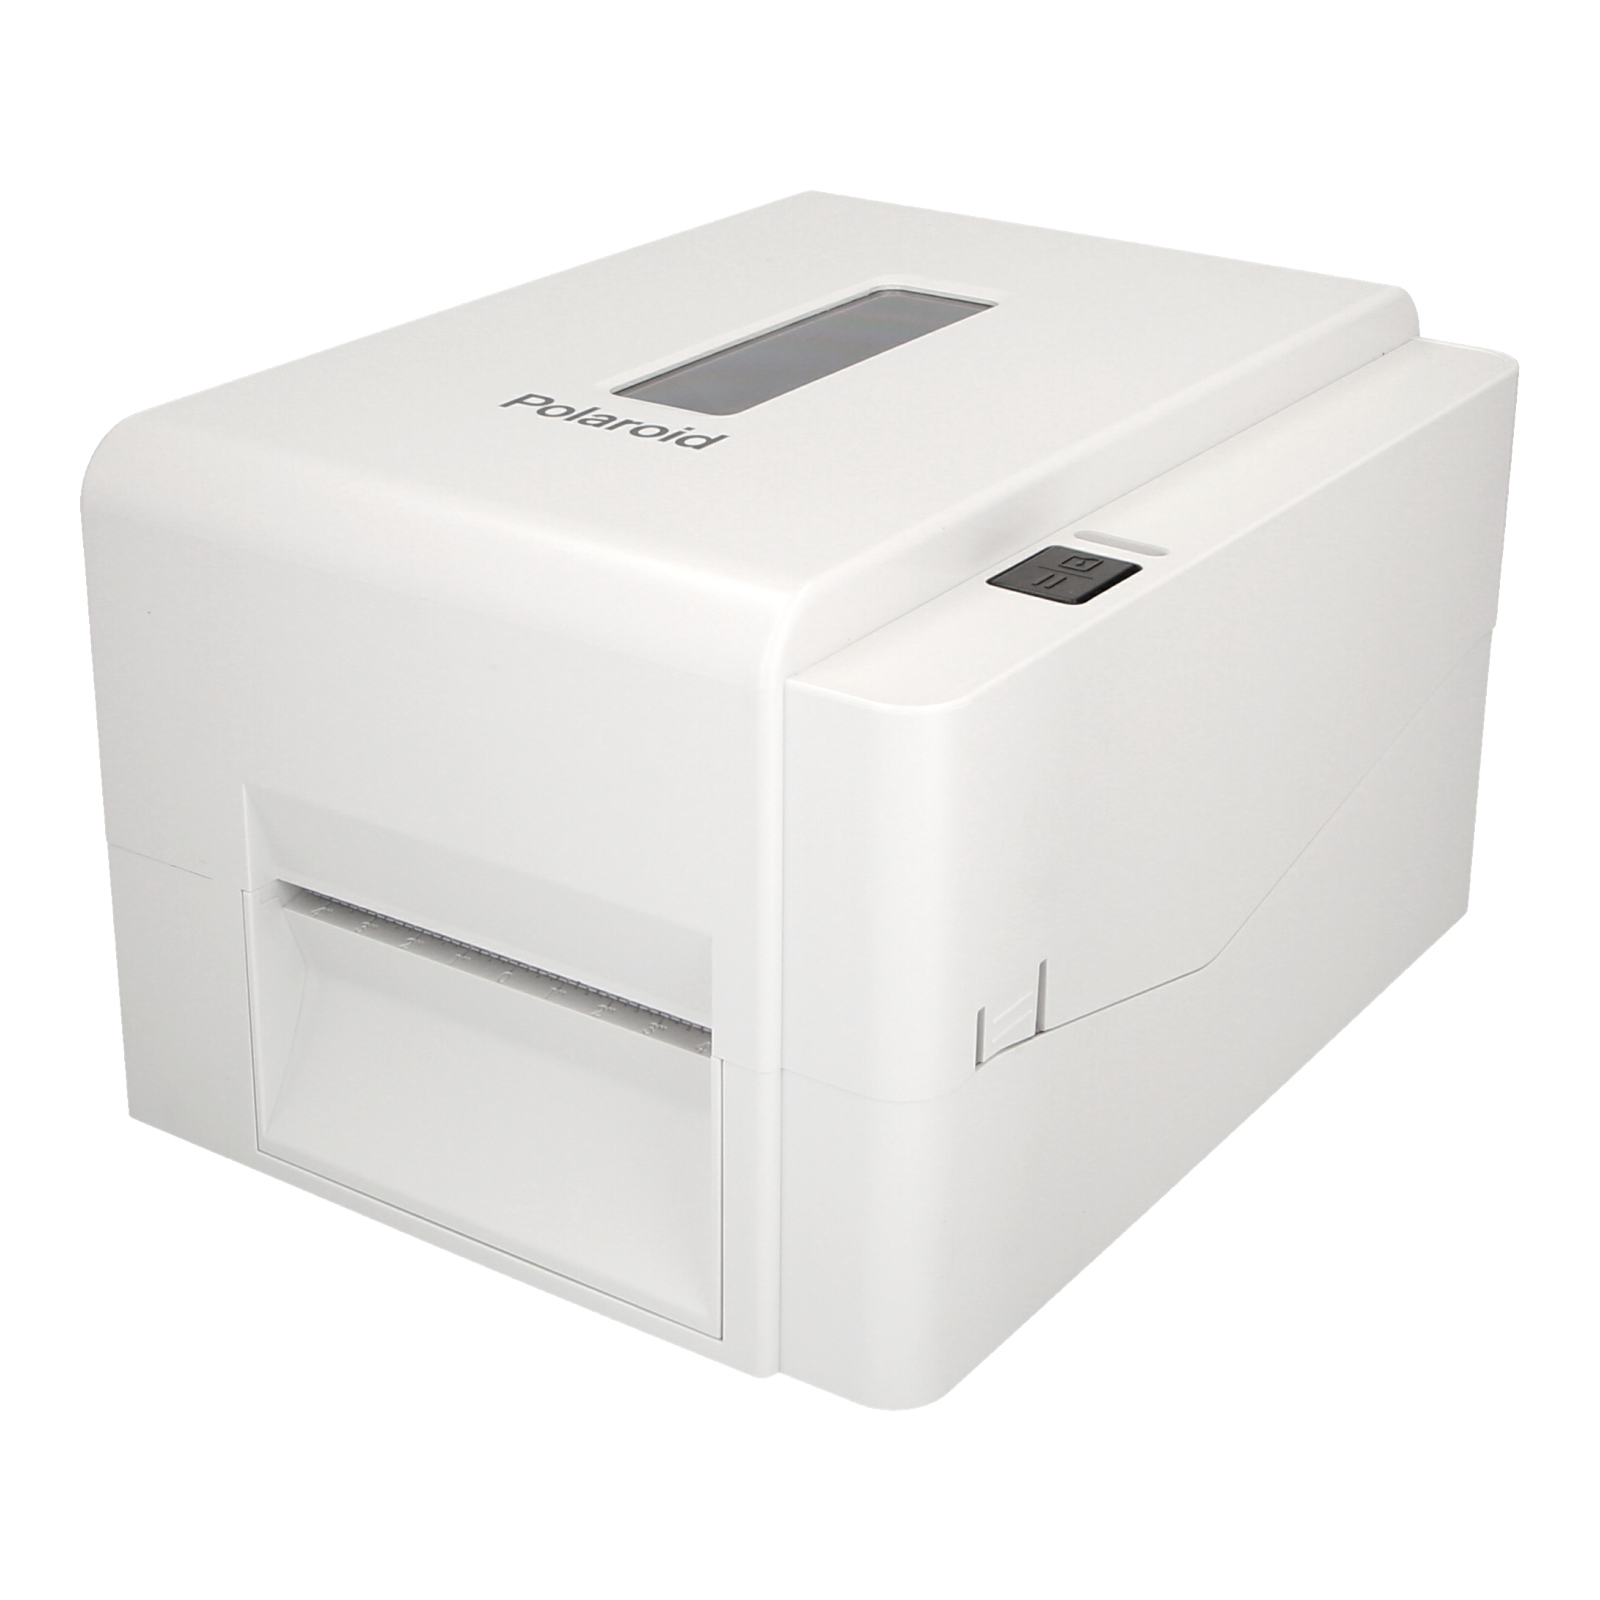
Before beginning the label refilling process, ensure you have all the required supplies on hand. These typically include replacement label rolls, a compatible label printer, and a user manual or manufacturer’s instructions. It is essential to use the correct label size and type for your specific label printer model to ensure optimal performance.
Step 2: Power Off the Label Printer
To prevent any accidents or damage during the refilling process, it is crucial to power off the label printer. Turn off the printer using the power button or by disconnecting it from the power source, as per the manufacturer’s instructions.
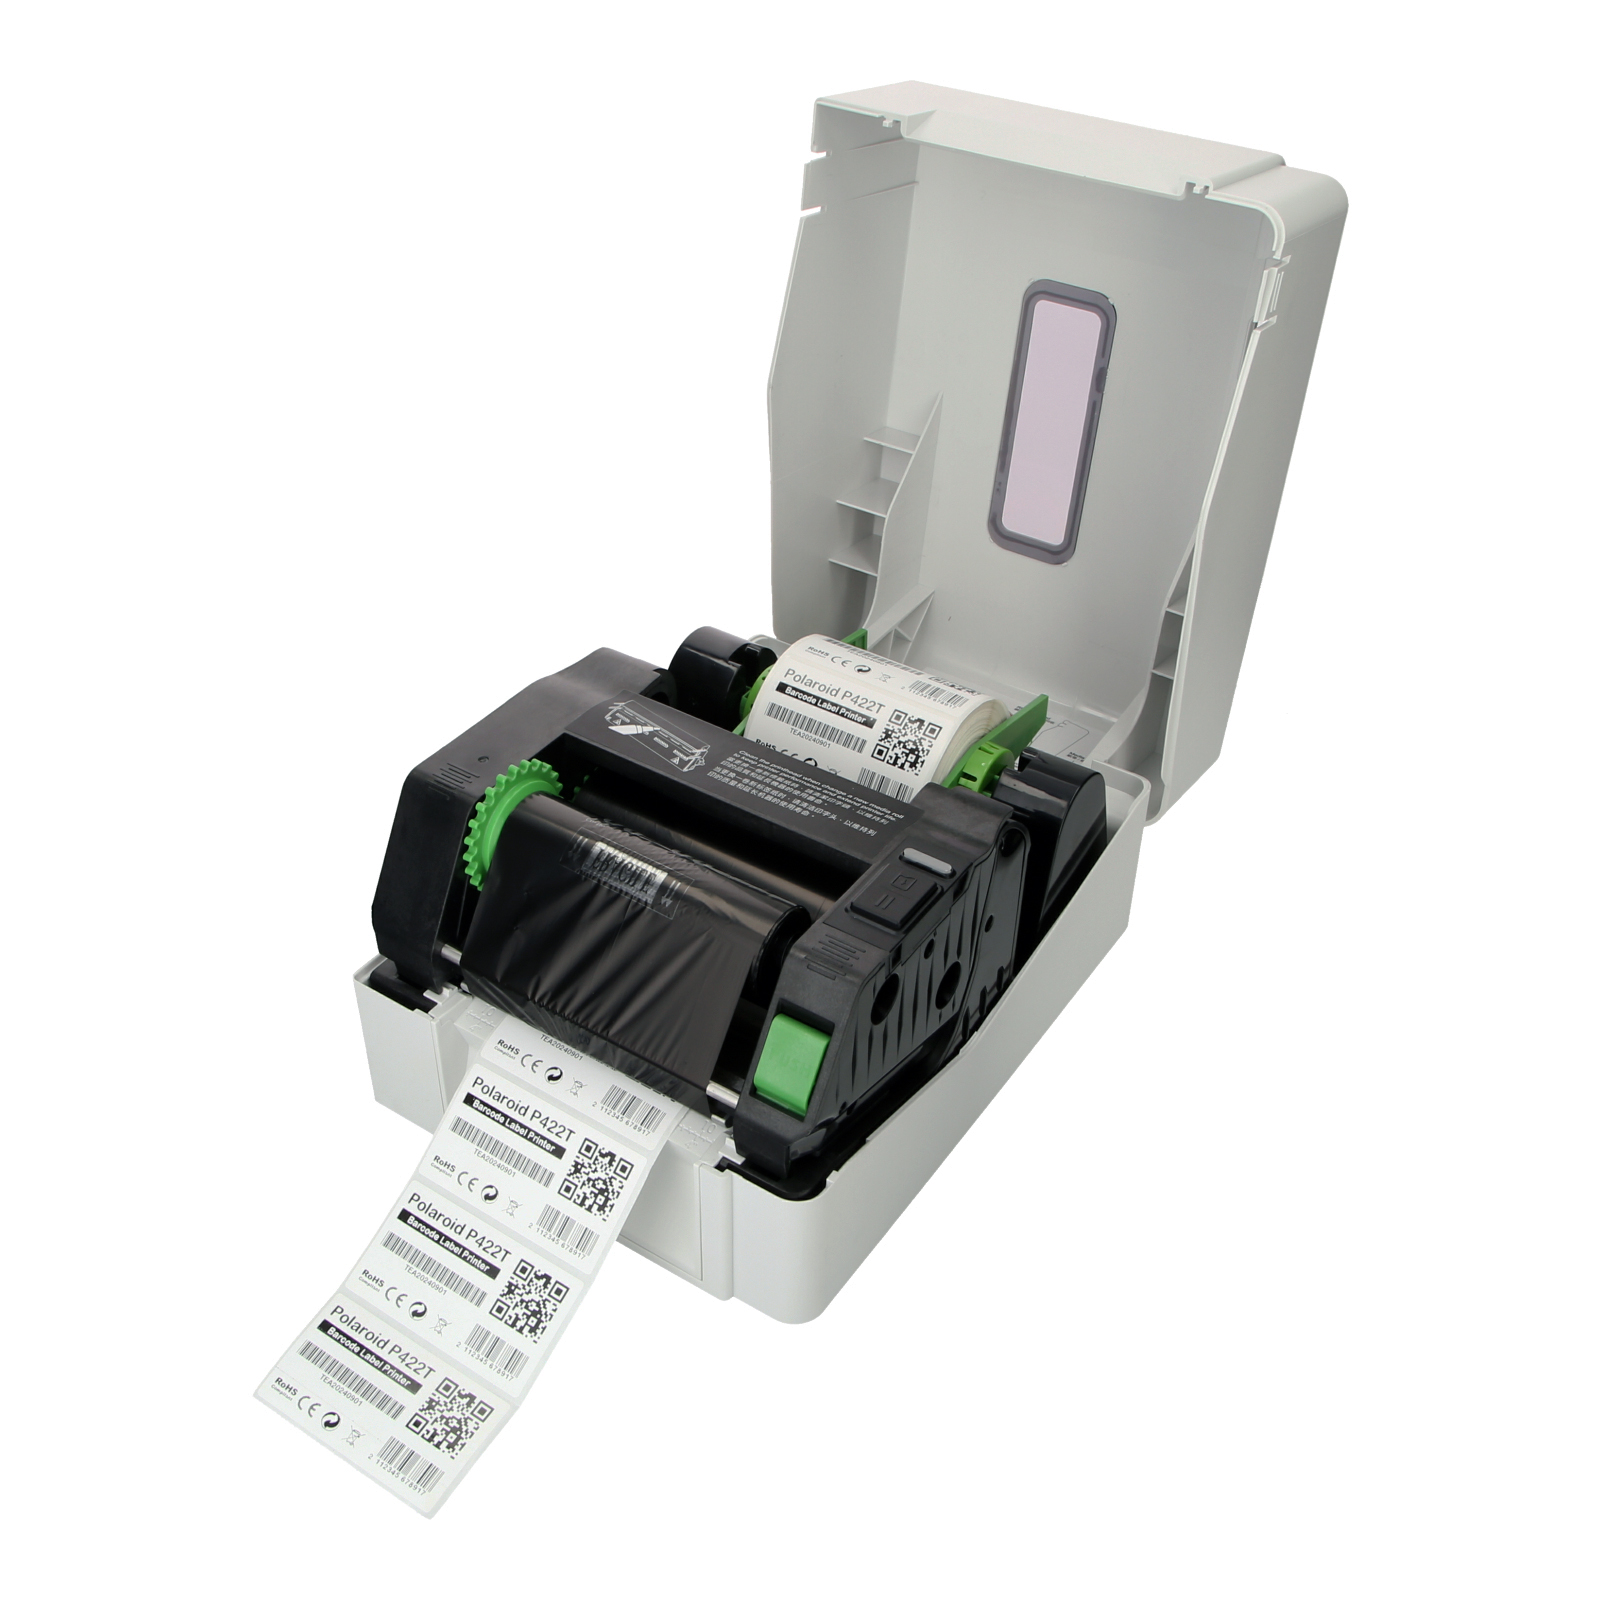
Step 3: Access the Label Compartment
Locate the label compartment of your label printer. Depending on the model, the compartment may be at the top, front, or back of the printer. Consult the user manual if you’re unsure about its exact location.
Step 4: Remove the Empty Label Roll
Carefully open the label compartment, ensuring not to force or damage any components. Locate the release mechanism or latch that secures the empty label roll in place. Release the latch and gently remove the empty roll from the spindle, taking note of its orientation.
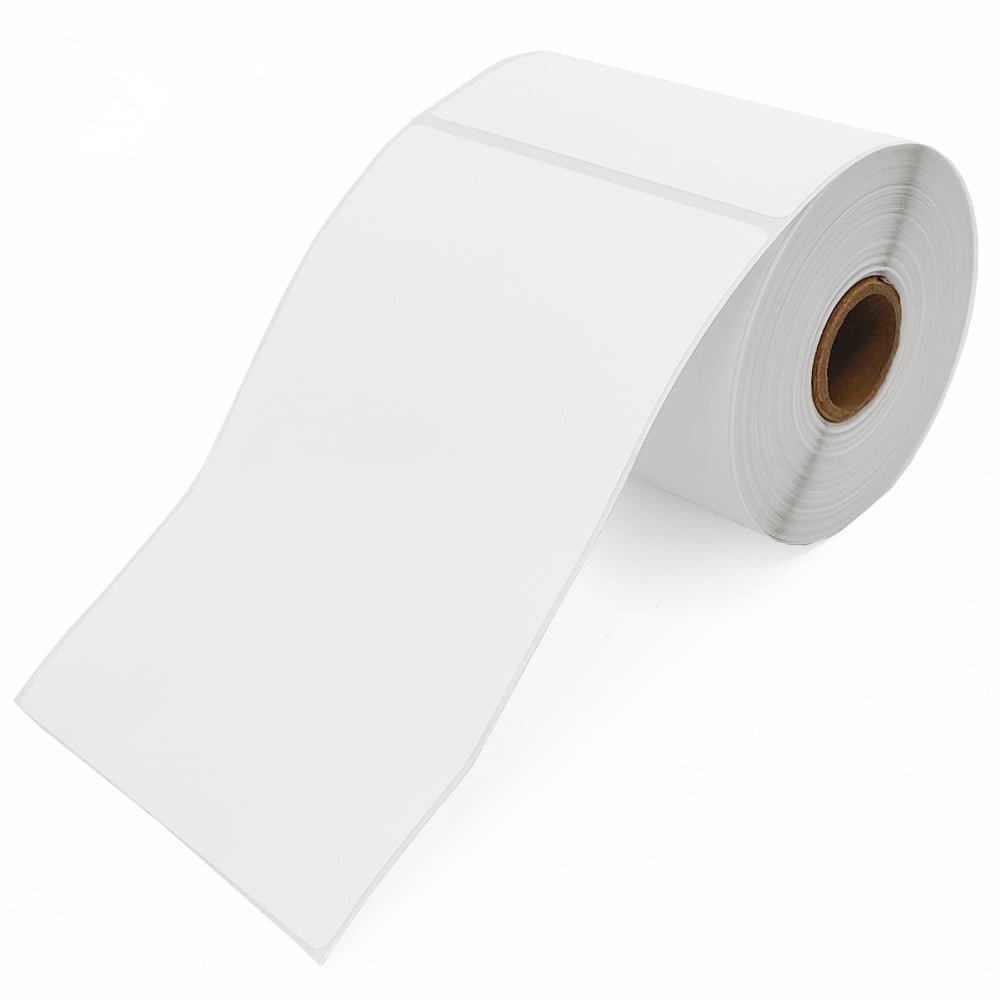
Step 5: Prepare the New Label Roll
Take your replacement label roll and ensure it is compatible with your label printer model. Check for any specific instructions or guidelines provided by the manufacturer. Remove any packaging or protective materials from the new roll, being cautious not to touch the adhesive side of the labels.
Step 6: Insert the New Label Roll
Align the new label roll with the spindle or holder inside the label compartment, ensuring the labels are facing the right direction based on your printer’s guidelines. Insert the spindle through the center of the roll and secure it using the release mechanism or latch. Make sure the roll is snugly in place but not overly tight.
Step 7: Thread the Labels
Follow the designated path for threading the labels through the printer. This path is typically marked with arrows or diagrams inside the label compartment or mentioned in the user manual. Carefully guide the leading edge of the label roll into the appropriate feed mechanism, ensuring the labels are properly aligned and centered.
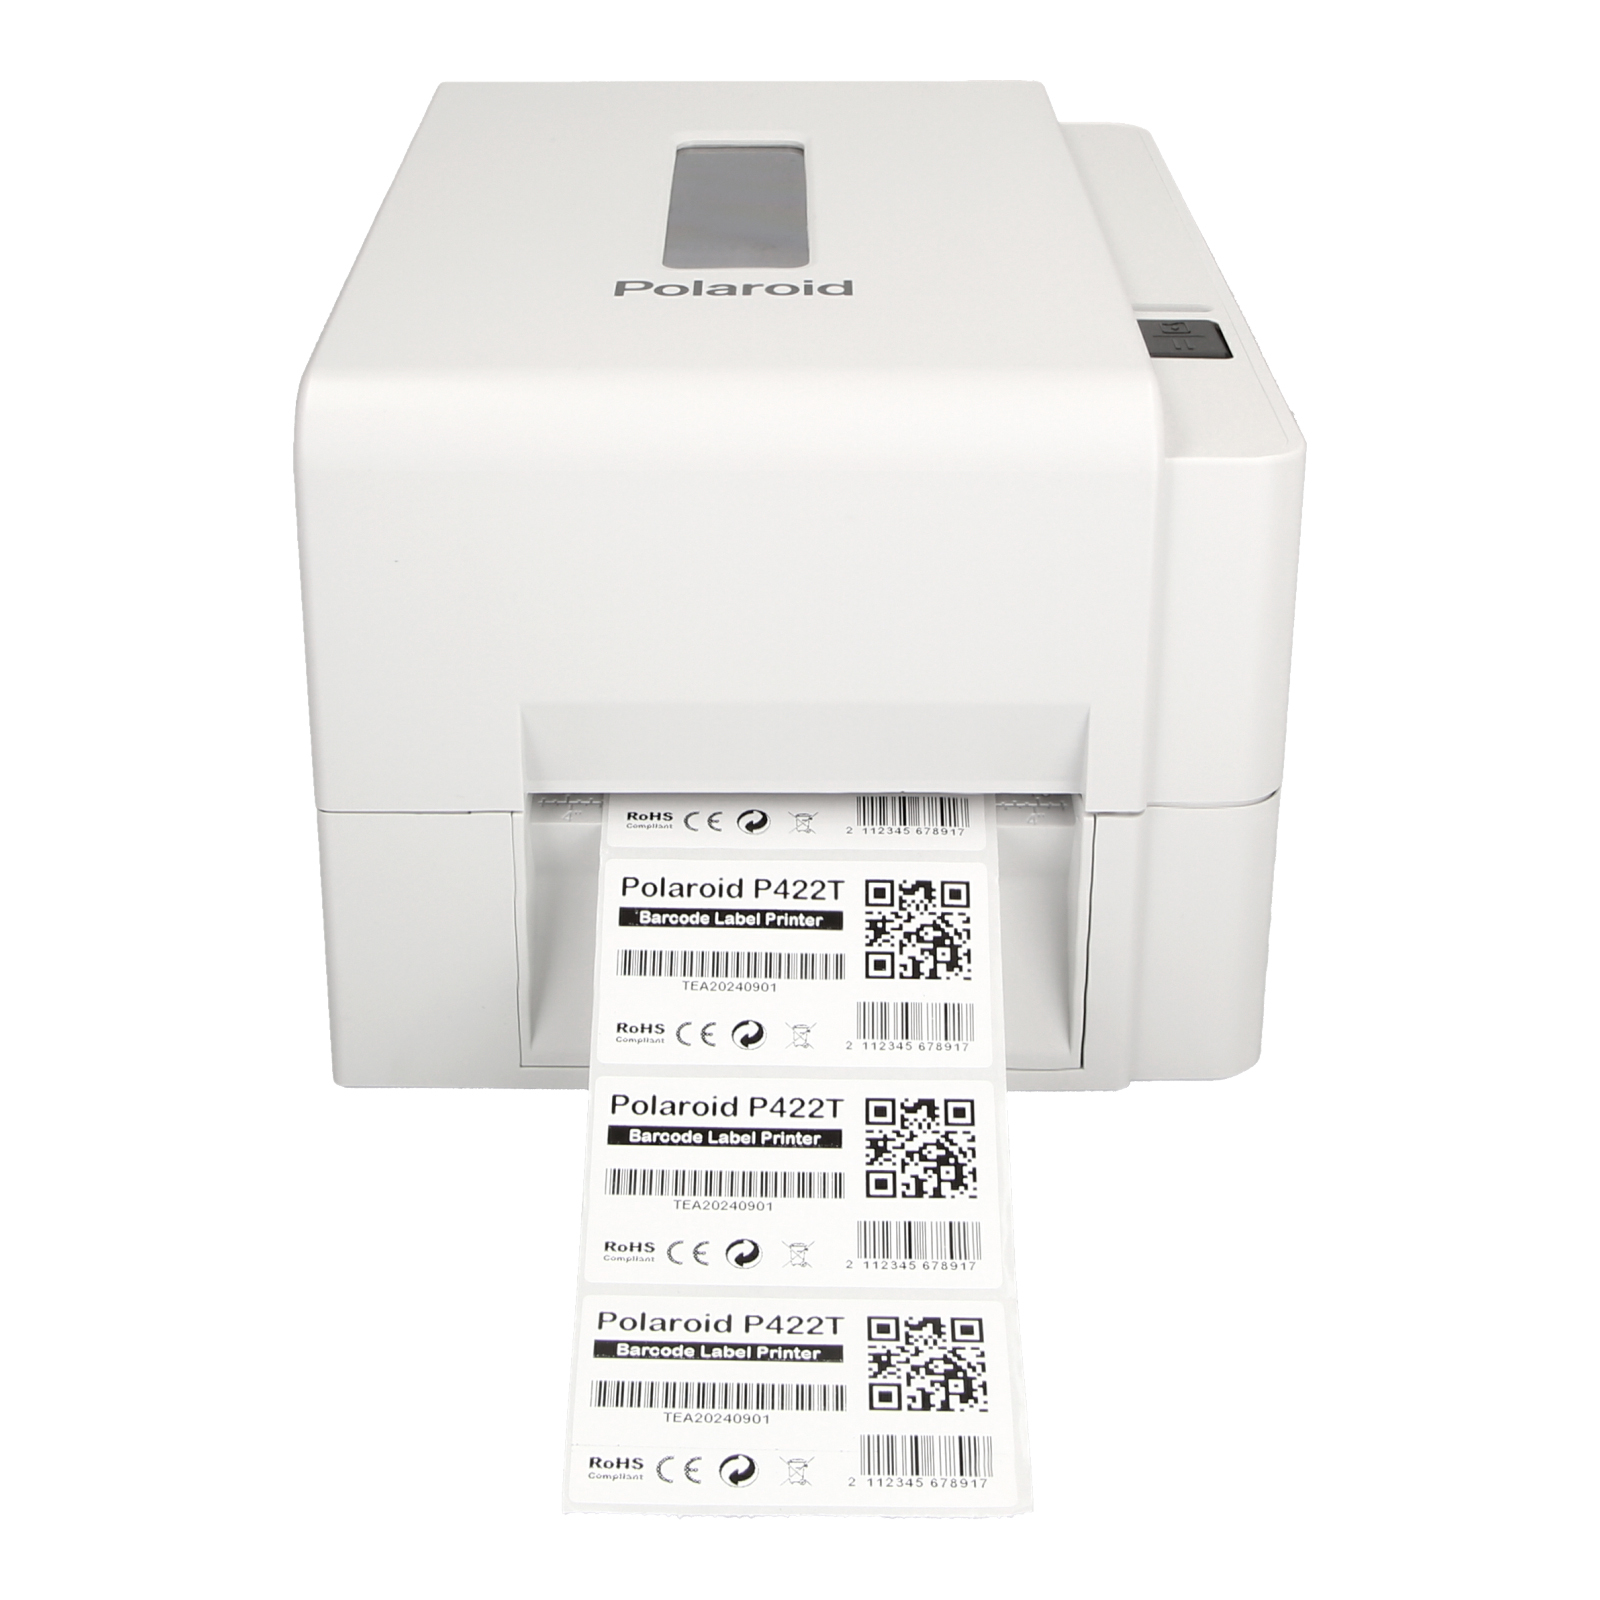
Step 8: Test the Printing Function
Once the new label roll is threaded correctly, close the label compartment securely. Power on the label printer and perform a test print to ensure the labels are feeding correctly and that the printing quality is satisfactory. Refer to the user manual for instructions on performing a test print, if needed.
Refilling labels in a label printer is a simple process that can be completed by following a few basic steps. By gathering the necessary supplies, powering off the printer, accessing the label compartment, removing the empty roll, preparing and inserting the new roll, threading the labels, and testing the printing function, you can quickly resume your labeling tasks without any hassle. Always refer to the user manual or manufacturer’s instructions specific to your label printer model for additional guidance. With these guidelines in mind, you’ll be able to keep your label printer running smoothly and efficiently.
